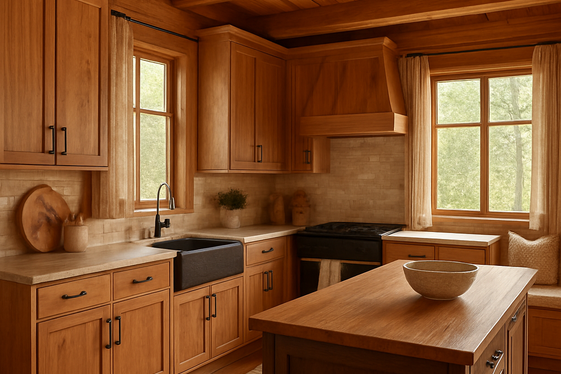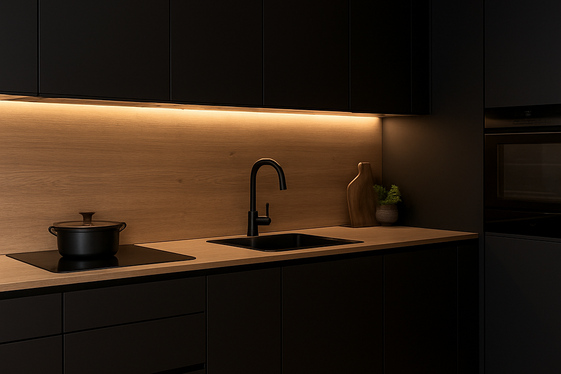
Small kitchens can feel like a design challenge, but they’re also an amazing opportunity to get creative and cozy. Whether you’ve got a tiny apartment kitchen or just want to optimize your home’s cooking space, making it stylish and functional doesn’t mean you need a lot of room.
In fact, small kitchens have a charm all their own—you just have to maximize the style and space smartly. This guide walks through 15 cozy kitchen ideas that use clever layouts, smart storage, and trendy touches to turn your compact area into a stylish hub where cooking and gathering feels natural.
You’ll find plenty of practical tips that work for homeowners across the USA, whether you’re working with an irregular layout, struggling with storage, or want to cozy up a sleek, minimalist vibe.
Let’s dive into some easy changes that will make your small kitchen a favorite spot in your home.
1. Incorporate Open Shelving for Airy Storage
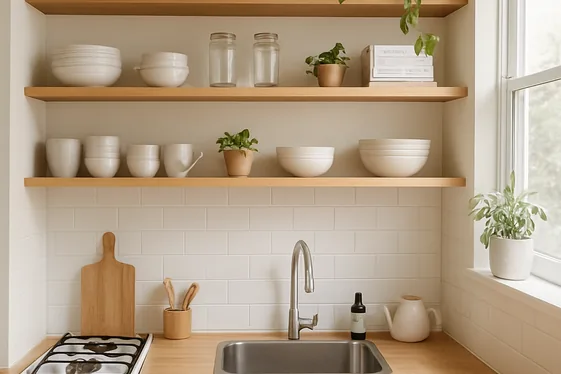
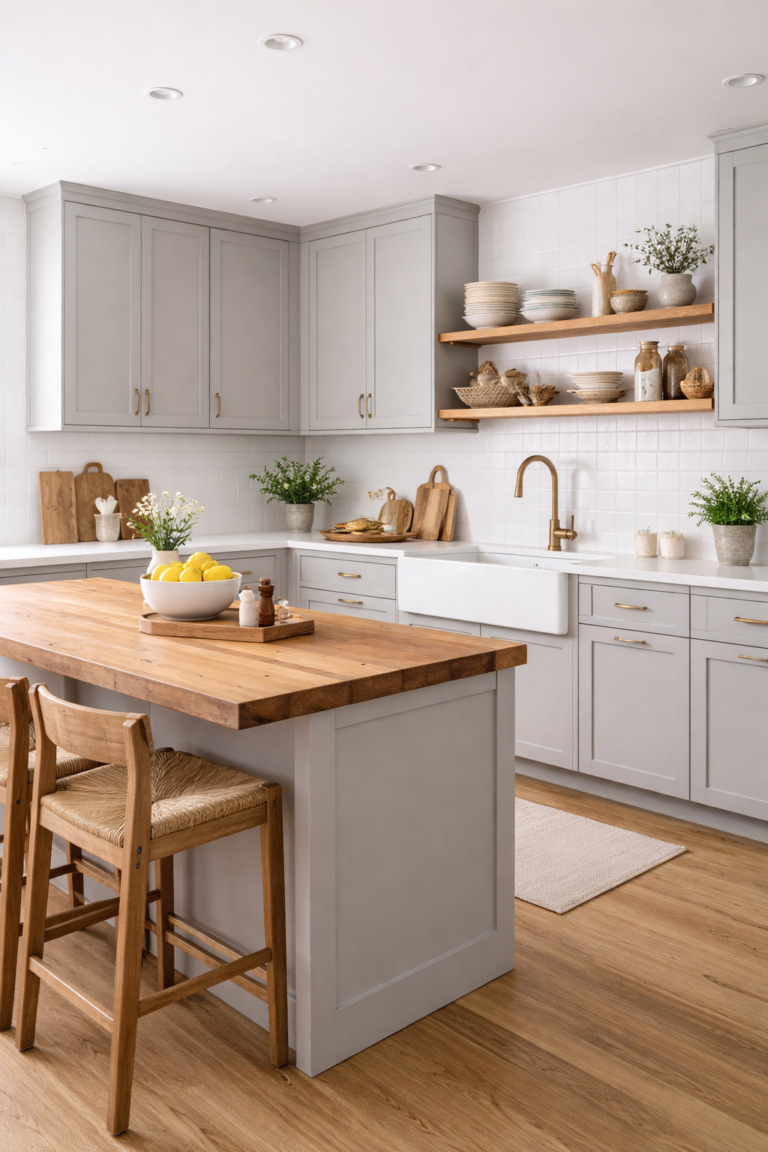
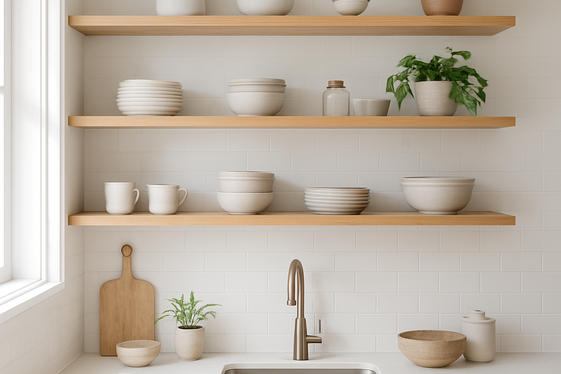
Open shelving brings a fresh, open feel to a small kitchen, instantly making the space seem larger. Instead of bulky cabinets that can crowd the room, open shelves allow your dishes, glassware, and even cookbooks to breathe. Choose floating shelves in natural wood or crisp white to keep things light and airy. Position them above your countertops or in unused corners, around 12 inches deep, so they don’t encroach on workspace but still hold everyday essentials within easy reach.
To keep the shelves tidy and stylish, group similar items together and use matching containers or baskets for smaller bits like spices or utensils. Display a few decorative pieces such as a small plant or a colorful jar to add personality without clutter.
Open shelving works best when you keep it organized and pared down — a few neat layers rather than overloaded rows. Quick Tip: Install a rail or hooks below your shelves to hang mugs or kitchen towels, squeezing in even more handy storage without sacrificing the open vibe.
2. Maximize Vertical Space with Tall Cabinets
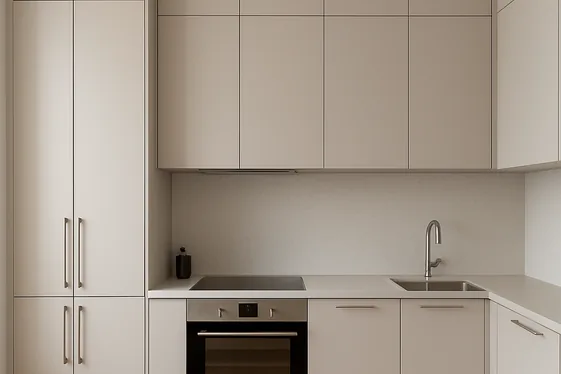
- Choose cabinets that reach up to the ceiling to fully utilize vertical wall space. This eliminates wasted gaps that often collect dust or become clutter zones.
- Install taller cabinets (84 to 96 inches) instead of the standard 30 to 42 inches to expand storage without shrinking floor space.
- Use the highest shelves for items you rarely use but still want to keep around, like seasonal cookware or bulk pantry staples.
- Opt for narrow, tall cabinets in tight corners to maximize those awkward spaces, making every inch count.
- Incorporate pull-out shelves or step drawers inside tall cabinets to improve access to deep storage areas.
- Select lighter colors or glass-front doors for taller cabinets to prevent the room from feeling overwhelmed or boxed in.
- Complement tall cabinets with under-cabinet lighting to brighten countertops and reduce shadow cast by the extended upper units.
Tall cabinets provide a clever way to multiply storage vertically when floor area is tight. In my experience, homeowners who invest in ceiling-high cabinetry often see fewer countertop clutter issues since they can store more off to the side and up high.
Be mindful, though—using adjustable shelves and pull-out organizers helps keep things reachable and fully usable. That’s why many experts recommend combining tall cabinets with smart interior storage solutions for the best blend of style and practicality.
3. Add Compact Multi-Functional Furniture
Quick Tip:
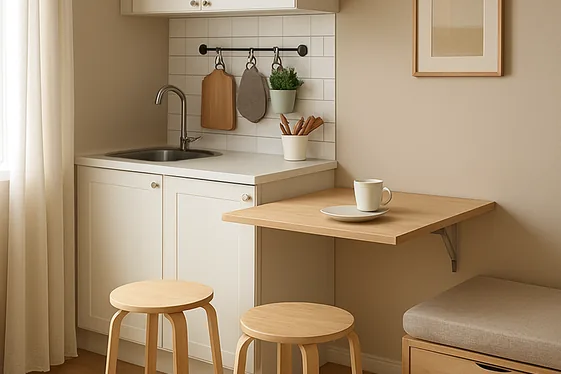
Look for furniture that pulls double duty to save space without sacrificing style. Choose compact tables that fold down when not in use or stools that tuck neatly under counters. A kitchen island with built-in storage or a bench with hidden compartments turns furniture into smart storage solutions. Think vertically too—wall-mounted fold-out tables can free up floor space instantly.
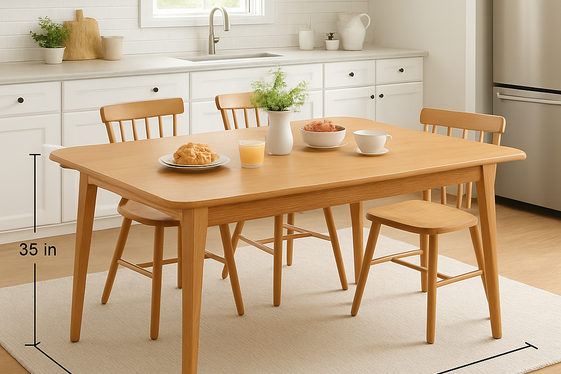
Opt for sleek, space-conscious pieces like a slim rolling cart that fits between cabinets or a rounded kitchen table that fits a cozy breakfast nook without crowding. Multi-functional furniture keeps clutter at bay and opens up the kitchen for better flow.
Installing a bench with storage beneath your dining area or a drop-leaf table against a wall adds seating without bulk. When pieces do more than one job, every inch counts—and your kitchen feels roomy, tidy, and welcoming.
4. Use Light Colors to Expand Visual Space
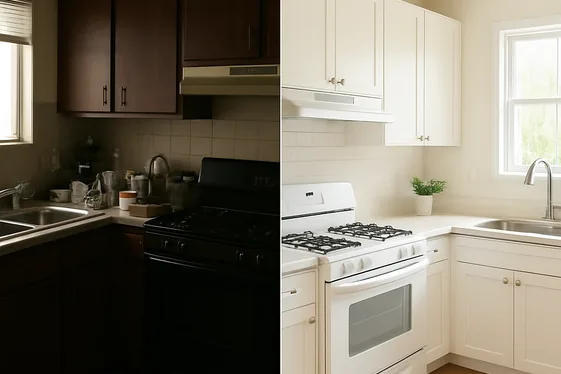
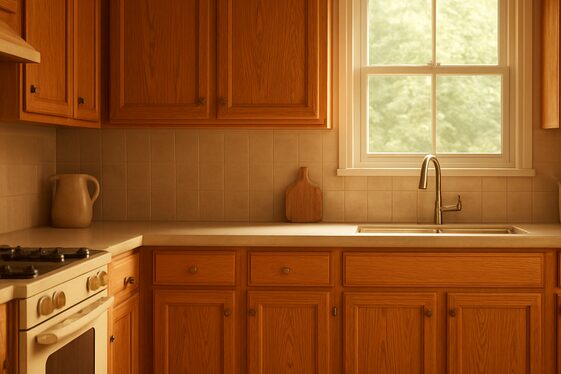
Before: The kitchen felt cramped and dark, with deep colors absorbing light and making the space seem even smaller. The dark cabinets and walls crowded the room, leaving little breathing room visually. It was hard to keep the kitchen feeling open and welcoming, especially during busy meal prep.
After: Light, airy colors transformed the kitchen into a bright and inviting space. Soft whites, gentle creams, and pastel hues opened up the room, reflecting natural light and creating the illusion of a larger footprint. Even the smallest kitchen felt fresh and spacious, encouraging more cooking and connection.
Choosing pale shades for walls and cabinetry instantly expands a small kitchen. Light colors bounce sunlight or ambient lighting around the room, reducing shadows and making corners appear farther away. Pair soft colors with sleek, minimal hardware to keep the look clean and uncluttered.
Mint greens, sky blues, or simple off-whites create a calm environment that invites you to linger, proving that color choices do much more than dress a kitchen—they define its soul.
5. Install Slim Rolling Island Carts
- Measure the space where you want to place the rolling island cart. Make sure there’s enough clearance for it to move around without blocking doorways or appliances.
- Choose a slim rolling island cart with dimensions that fit your kitchen’s width and height. Look for one with storage options like shelves or drawers to maximize functionality.
- Assemble the cart according to the manufacturer’s instructions. Double-check that all wheels roll smoothly and that locking brakes work to keep the cart stable when needed.
- Position the cart in a spot that complements your kitchen workflow—next to the stove, by the sink, or near prep areas. This placement helps keep your tools and ingredients within easy reach.
- Stock the cart with frequently used items like cutting boards, spices, utensils, or pots. Organize the storage so heavier items go on lower shelves and small tools stay on the top for quick access.
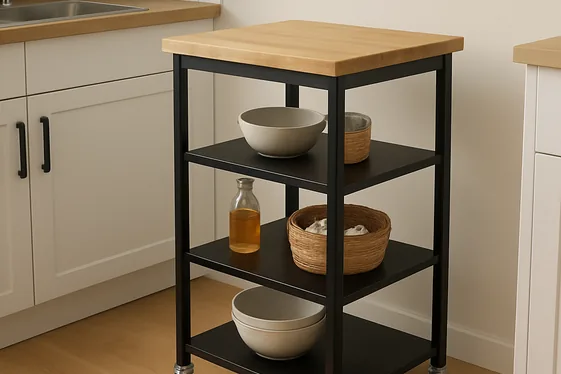
Rolling island carts bring extra workspace and storage without crowding a small kitchen. Their mobility lets you tailor your prep area to whatever cooking task is at hand. A slim design fits narrow aisles, and locking wheels keep it securely in place during use. Incorporate one to redefine your kitchen flow while maintaining open, cozy vibes.
Quick Tip:
Opt for carts with a butcher block top for an added prep surface that feels warm and natural in your kitchen.
Before: Counters are cluttered and limited, making meal prep tough.
After: A sleek island cart rolls into place, offering space, storage, and style on demand.
6. Create a Mini Breakfast Nook
| Point | Traditional Breakfast Setup | Mini Breakfast Nook |
|---|---|---|
| Space Utilization | Uses a separate dining room or large table | Utilizes a small corner or under window space |
| Seating Capacity | 4-6 people | 2-3 people, cozy and personal |
| Furniture Size | Standard chairs and table | Built-in bench seating with cushions |
| Storage Options | Limited storage under table | Hidden storage under the bench |
| Style Impact | Plain and functional | Stylish focal point with decorative accents |
| Setup Cost | Higher due to larger furniture | Moderate cost with DIY or ready-made kits |
| Accessibility | Often takes room to move around | Compact and keeps the kitchen open |
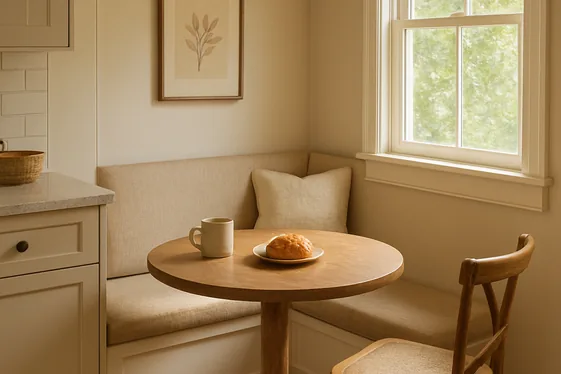
In my experience, creating a mini breakfast nook transforms a small kitchen from just functional to genuinely inviting. Not only does it provide a dedicated spot for quick meals and morning coffee, but the built-in seating really frees up floor space while adding storage. I’ve seen this work well in many cases where homeowners want a snuggly area that encourages lingering without crowding the overall kitchen layout.
Try focusing on a corner near a natural light source to maximize warmth and make the nook feel like a natural extension of your kitchen.
7. Optimize Corner Areas With Lazy Susans
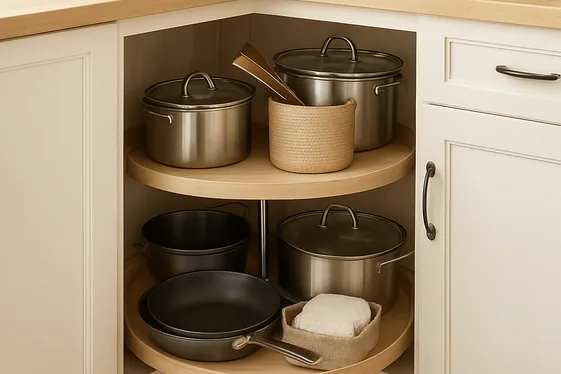
Do:
- Install a Lazy Susan in corner cabinets to fully utilize those awkward, hard-to-reach spots.
- Opt for a two-tier or even three-tier rotating shelf to maximize vertical space inside the corner.
- Choose models with smooth, quiet rotation and sturdy, easy-clean surfaces like wood or coated metal.
- Measure your cabinet dimensions carefully before purchasing to ensure a snug fit.
- Use the Lazy Susan for storing frequently used items like spices, canned goods, or small gadgets for quick access.
Don’t:
- Don’t overload the Lazy Susan; too much weight can affect rotation and durability.
- Avoid placing oversized or heavy pots and pans inside, as they may jam the rotating mechanism.
- Don’t forget to regularly clean both the shelves and the cabinet interior to prevent spills and crumbs buildup.
- Refrain from using one-size-fits-all solutions without checking cabinet cutouts or hinges nearby.
- Don’t ignore the Lazy Susan’s height – ensure there is enough clearance to spin freely without hitting the door.
Corners often become dead zones in small kitchens, but Lazy Susans turn them into prime storage spots. By fitting rotating shelves into these cabinets, you free up countertop space and keep everything visible and accessible.
This clever solution opens up hidden areas, letting you stash away spices or cooking essentials neatly. Just make sure your choice matches your cabinet’s size and weight requirements to keep it spinning smoothly for years.
8. Choose Reflective Surfaces Like Glass or Gloss
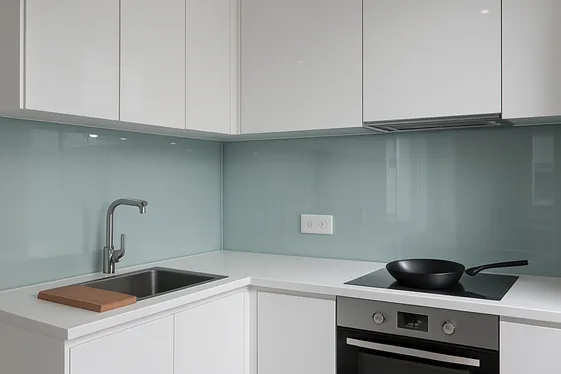
Cost: Moderate
Time: A few hours to a day
Skill Level: Intermediate
Result: Bright, airy space
Reflective surfaces such as glass cabinet doors, glossy tiles, or shiny countertops pack a powerful punch in small kitchens. They bounce light around the room, making the space feel larger and more open. Consider swapping out bulky wood cabinets for glass-front options or installing a gloss-finish backsplash in white or soft neutrals. Even shiny stainless steel appliances serve the same purpose, reflecting both natural and artificial light. The key is balance—too much gloss can feel cold, so pair it with warm textures like wooden cutting boards or textiles. In compact kitchens, this light-enhancing trick can turn a cramped, dim area into a welcoming hub.
Quick Tip:
Place reflective surfaces opposite windows to maximize natural light reflection.
9. Use Under-Cabinet Lighting Strategically
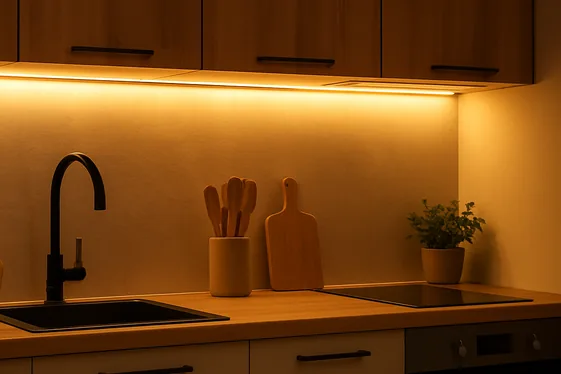
Under-cabinet lighting brings a practical and stylish boost to small kitchens by illuminating countertops without taking up valuable space. Installing slim LED strips or puck lights beneath upper cabinets highlights prep areas where shadows typically fall. In my experience, placing lights closer to the front edge of the cabinets avoids glare while casting an even glow on surfaces.
These lights make chopping veggies or reading recipes easier, especially during evening hours, and the warm light helps enhance the cozy vibe you want in a tight kitchen. Look for dimmable options to adjust brightness when moving from cooking to casual dining.
Smart placement is key for maximizing both function and style. Run the lighting continuously along all under-cabinet surfaces for consistent illumination or focus on work zones like the sink and stove for targeted brightness. Battery-operated models are great if wiring is tricky, but hardwired spots look cleaner and last longer.
Be cautious with overly bright LEDs—they can make small spaces feel stark rather than cozy. That’s why many experts recommend warm white lights around 2700K to 3000K. Properly done under-cabinet lighting can transform a cramped kitchen into a welcoming, well-lit haven.
10. Incorporate Pull-Out Pantry Systems
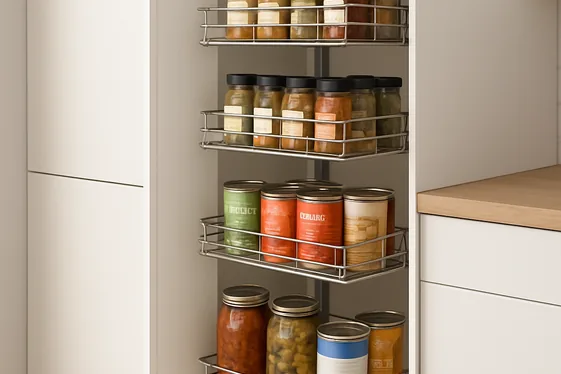
- Pull-out pantry systems slide out smoothly to reveal your entire stash, making it easier to see and grab items without digging through clutter. This is ideal for narrow gaps or slim spaces between cabinets.
- These pantries often come with adjustable shelves, so you can customize the height to fit tall bottles, jars, or boxes. Flexibility is essential when juggling different food sizes.
- Installing a pull-out pantry near your cooking zone cuts down on time spent running back and forth, streamlining meal prep. Store frequently used spices and oils right there.
- Some models come with built-in organizers for cans, snacks, or even spices, keeping everything orderly and within reach. This beats loose containers scattered on shelves.
- Opt for soft-close mechanisms to prevent noisy slamming and extend the life of your cabinetry. It’s a small upgrade that feels luxurious every time you use it.
- Materials vary from wood to metal mesh shelving; choose finishes that match your kitchen’s style while withstanding humidity and spills.
- If you have a narrow kitchen nook or unused pantry space, these systems make every inch count without crowding your walkway.
Pull-out pantry systems are a smart solution to squeeze maximum storage from small or awkward spots. By pulling out the entire shelf unit, you get a clear view and easy access to everything at once—no more fishing around in dark corners or oversized cabinets. These systems work great tucked beside the fridge or between base cabinets.
11. Mix Materials for Texture and Warmth
Quick Tip:
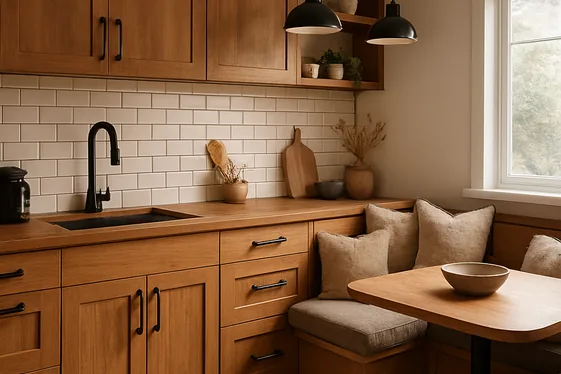
Bring together wood, metal, and fabric elements in your kitchen to create a cozy vibe without crowding your small space. A wooden cutting board, metal light fixtures, and cushioned bar stools can add layers of texture. Stick to warm tones like honey oak, matte black, and soft linen for a welcoming feel that doesn’t overwhelm.
Mixing textures like smooth quartz countertops with woven wicker baskets or a plush patterned rug can add depth without sacrificing space. Think about swapping a plain metal pendant light for one with a brushed finish or hanging open wooden shelves next to sleek stainless steel appliances.
These small contrasts create warmth and interest while maximizing every inch, making your kitchen less sterile and more inviting.
12. Transform Walls Into Functional Zones
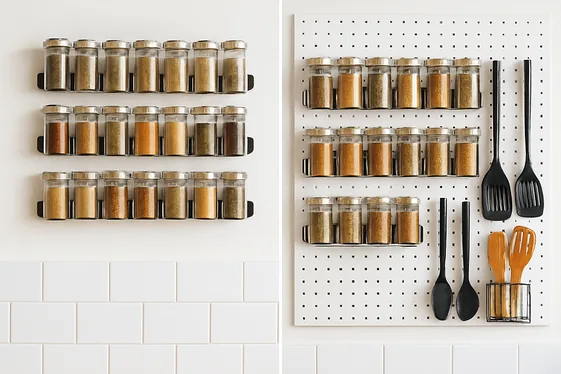
Before: The walls in the small kitchen stood bare, wasted space with nothing more than a splash of paint and a few scattered magnets on the fridge. Counters were cluttered with frequently used items because there was no organized spot for essentials. The kitchen felt cramped, with limited clear surfaces for prepping or cooking.
After: Wall space transformed into a series of practical zones featuring mounted spice racks, slim magnetic knife strips, and open shelves for everyday dishes. Hooks and rails hold mugs, utensils, and dish towels, freeing countertops and simplifying reach. The kitchen now breathes, with everything within arm’s length but out of the way, turning vertical space into an efficient, stylish storage hub.
Assigning each wall a function—whether for spices, cookware, or pantry items—adds layers of storage and convenience. Choose slim, sturdy fixtures and keep things uniform to avoid visual chaos. This method not only opens up workspace but also keeps your kitchen cozy and inviting, where every tool has its place.
Walls that once gathered dust now work hard, elevating both style and efficiency in any small kitchen.
13. Apply Modular Storage Solutions
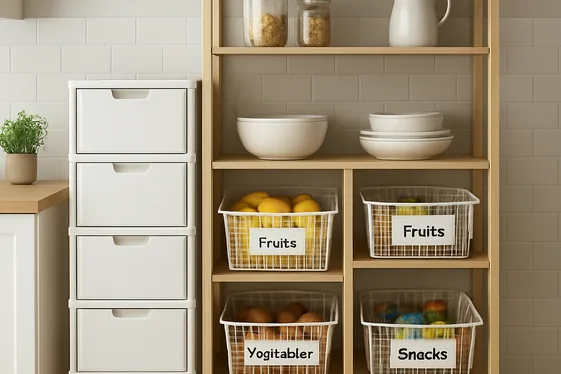
- Start by measuring your kitchen’s available wall and floor space to identify where modular units can fit without crowding the area. Take precise notes on height, width, and depth to guide your purchase or custom plans.
- Choose modular storage units that offer flexibility, such as stackable shelves, pull-out drawers, or rolling carts. Opt for pieces in light colors or wood tones that complement your kitchen’s style and don’t overwhelm the space visually.
- Install open shelving modules above your counter to keep everyday items like spices, mugs, or cooking oils within easy reach. Make sure these shelves are sturdy and anchored well to handle frequent use.
- Use corner modular units or rotating carousels inside cabinets to maximize usually wasted space. These clever systems make it easy to store pots, pans, or larger items without bending or searching in dark corners.
- Add modular storage baskets or bins inside your cabinets to categorize pantry goods, utensils, and cleaning supplies. Label each spot clearly so everyone in the household can maintain organization effortlessly.
I’ve noticed that modular storage solutions really transform cramped kitchens by making every inch count without creating clutter. The ability to rearrange pieces as your needs evolve keeps the kitchen feeling fresh and functional. That’s why many experts recommend investing in quality modular units that can adapt over time rather than fixed cabinetry.
This approach turns small kitchens into highly organized, cozy spaces where cooking and socializing become more enjoyable.
14. Compare Built-In Appliances vs. Freestanding Units
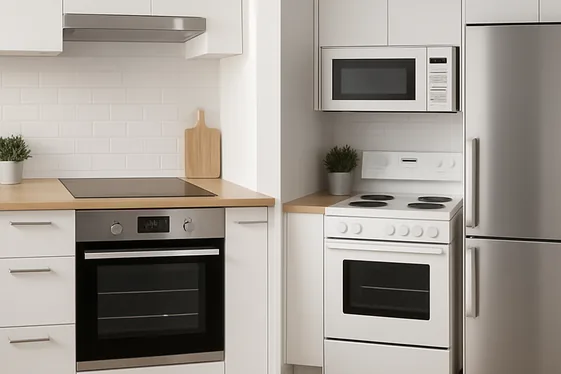
| Point | Built-In Appliances | Freestanding Units |
|---|---|---|
| Space Efficiency | Seamlessly integrated, saves floor space | Takes up more room, stands alone |
| Design Flow | Creates a sleek, uniform look | Adds variety but can look bulky |
| Installation | Requires professional fitting, more time | Simple plug and play, move anytime |
| Replacement Ease | Often harder and costlier to swap out | Easy to replace or upgrade |
| Cost | Usually pricier due to custom fitting | Generally more budget-friendly |
| Flexibility | Limited placement options | Can be repositioned as needed |
| Cleaning | Gaps can be tricky to clean | Easy to clean all around |
Built-in appliances blend straight into cabinetry, helping small kitchens feel open and tidy while freeing up floor space. Their flush design keeps everything streamlined but comes with a higher upfront cost and less flexibility if you want to rearrange later. Freestanding units offer the perk of moving around or upgrading quickly, though they take up more space and may interrupt your kitchen’s style flow.
For tiny kitchens, built-in options maximize room, but freestanding lets you change things whenever the mood strikes. Choose based on what fits how you live and how long you plan to stick with your layout.
15. Do’s and Don’ts of Small Kitchen Organization
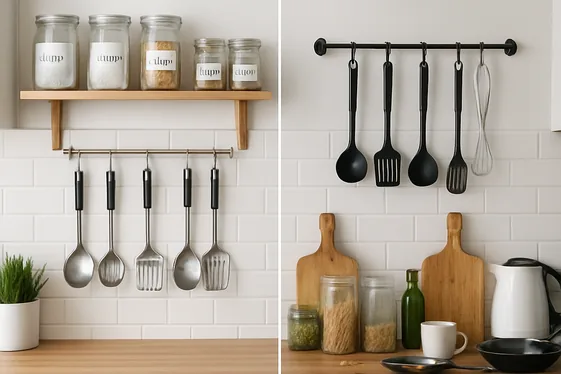
Do:
- Use vertical storage like wall-mounted racks and magnetic strips to free up counter space.
- Opt for clear containers and labels to quickly identify ingredients and reduce clutter.
- Keep frequently used items within arm’s reach, stored on open shelves or hooks.
- Embrace multi-functional furniture, such as foldable tables or rolling carts that can be tucked away.
- Regularly declutter by donating or discarding duplicates and expired pantry items.
Don’t:
- Overcrowd countertops with appliances or decorative pieces that don’t serve a daily purpose.
- Ignore unused spaces above cabinets or under the sink for extra storage.
- Skimp on lighting—dim spaces can make small kitchens feel cramped and chaotic.
- Forget to measure before buying storage solutions; ill-fitting organizers waste precious room.
- Let clutter gather; a messy space quickly shrinks the feeling of openness.
Small kitchens require thoughtful organization to keep them feeling cozy rather than cramped. By prioritizing vertical surfaces and smart storage solutions, you create a flow that’s both functional and inviting. Avoiding clutter and poorly planned spaces makes a huge difference in maximizing every inch.
The goal is to keep your kitchen efficient without sacrificing style, so every item has a home, and every surface has a purpose.
Conclusion
A small kitchen doesn’t have to feel cramped or dull. By incorporating open shelving or tall cabinets, you’ve already created a foundation for space and style. Add smart furniture choices, lighting, and reflective surfaces to brighten the room and make it multifunctional. Don’t forget to optimize corners and walls for extra storage, and choose appliances that fit your space’s flow.
Modular systems and pull-out pantries keep clutter at bay while mixing materials adds warmth and personality. With these 15 ideas, you can transform your kitchen into a cozy, stylish spot that works just right for your lifestyle.
Whether you love cooking big meals or just want a neat breakfast nook, there’s a smart solution here for your space. Keep experimenting with what feels best—you’ll soon find that a small kitchen can be your home’s most charming room.

Sarah Parker is a creative content writer with experience in crafting engaging, reader-friendly, and SEO-optimized content. She specializes in writing blog posts, website copy, social media captions, and digital marketing content across niches including lifestyle, home decor, business, and technology. Her writing style focuses on clarity, audience engagement, and search engine visibility.